- Get link
- X
- Other Apps
The Caterham is in the garage and prepped - time to get started!
The first job is to install the wishbones - looks simple enough.
Not so fast. Finding the parts was the first challenge, as many of the parts are in separate boxes. It took quite a while to find every part, but it was worth the effort. Laying out all of the pieces on the printed inventory sheet ahead of time sped up installation.
I first covered the paint with painters tape, I did this to protect from scratches and dings.
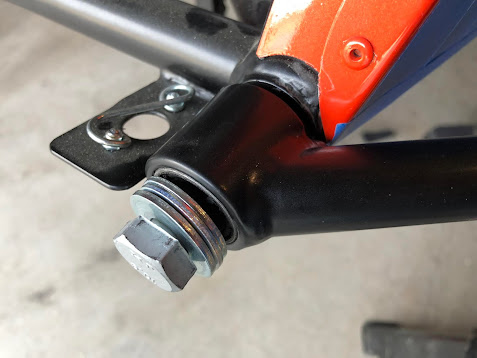
Next I installed the lower wishbone. It wasn't as easy as it looks. It took quite a bit of effort to stick the wishbone in place.
Next the washers need to slide between the wishbone and the frame, and there is very little room. I tried to move them in place by rotating the wishbone, but that was not going to work. I finally took a brass hammer and hammered the washers into place using a piece of wood and rag to avoid scraping the finish.
After finishing the lower wishbone, it was time for the upper wishbone. I was prepared for it to be challenging, and it was. The upper wishbone fits very tightly into the brackets. So a lot of bending and nudging with the brass hammer was required to get it into place.
The upper wishbone bolts were much easier because there were no washers. It was only a matter of aligning the holes properly. I used two methods - sticking an allen key in and wiggling it around to align the holes, and tapping the bolt with a brass hammer. I was able to get the upper wishbone installed with relative ease. I did not torque the bolts, I am waiting till the front suspension is complete.
The first step was done. As with most car projects it took a lot longer than I was estimating. But it was great to finally get started.
- Get link
- X
- Other Apps


Comments
Post a Comment